There’s nothing quite like the excitement of pulling into a campground with your RV for the first time. Whether it’s a travel trailer, fifth wheel, or motorhome, setting up camp can initially feel a little intimidating. But once you know the routine, it becomes second nature. The key is to take it step by step and not rush the process. Let’s walk through what to do when you arrive so that you can set up your RV correctly the first time.
How to Set Up Your RV Correctly
Take a Breath Before You Set Up Your RV, and Park Carefully
First things first—when you arrive at your site, don’t be in a hurry to back in or pull through. Take a minute to hop out and walk the area. Look for obstacles like low branches, rocks, or slopes that could mess with your leveling. Make sure your hookups—water, electric, and sewer—are in reach of your cords and hoses.
Once you’re ready to park, go slow and don’t be afraid to ask for help. If you’re backing in, have someone outside guiding you. You don’t need to be perfect on the first try. Adjust as needed until you’re happy with your position.
Level Your RV
Once you’re parked, it’s time to level the RV. A level rig is necessary for your appliances and plumbing to work properly. If your RV has auto-leveling, you’re in luck—just hit the button and let it do the work. If not, you’ll need leveling blocks and a level. Start by leveling side to side, usually by driving up onto blocks under your wheels. Then level front to back using the tongue jack or front jacks.
When everything is level, go ahead and chock the wheels. This is a must for safety, especially if you’re on an incline.
Hook Up the Electric
Now it’s time to hook up your power. Before you plug in, make sure your circuit breaker at the pedestal is turned off. Then connect your RV power cord to the pedestal, switch the breaker on, and check that your RV is getting power. A surge protector is a smart idea to protect your electronics from voltage spikes.
Once you’re powered up, you can turn on your fridge and start using outlets inside.
Connect the Water
Now, head over to the water hookup. Attach your white freshwater hose to the spigot, and make sure to use a water pressure regulator. That keeps high pressure from damaging your RV’s plumbing. If your site has full hookups, you can stay connected the whole time. If you’re just filling your tank, do that now, and then switch to using your water pump.
Make sure the water heater is full before turning it on—burning it dry can cause damage. Once water’s flowing and you’ve bled the air from the lines, you’re good to go.
Sewer Setup (If Applicable)
If you’ve got full hookups, you can connect your sewer hose now. Always make sure your connections are tight. It’s a good idea to keep your black tank valve closed and only dump it when it’s about two-thirds full. That helps prevent clogs. Keep the gray tank valve closed until you need to dump. Some people leave it open, but closing it keeps smells out and lets you use gray water to flush out your hose after dumping the black tank.
If you don’t have full hookups, you’ll need to conserve your tank space and plan to use the dump station before you leave.
Stabilize and Settle In
With the utilities hooked up, it’s time to drop the stabilizer jacks. These don’t level your RV, but they do reduce the bounce when people move around inside. Crank them down until they’re snug—not lifting the RV, just supporting it.
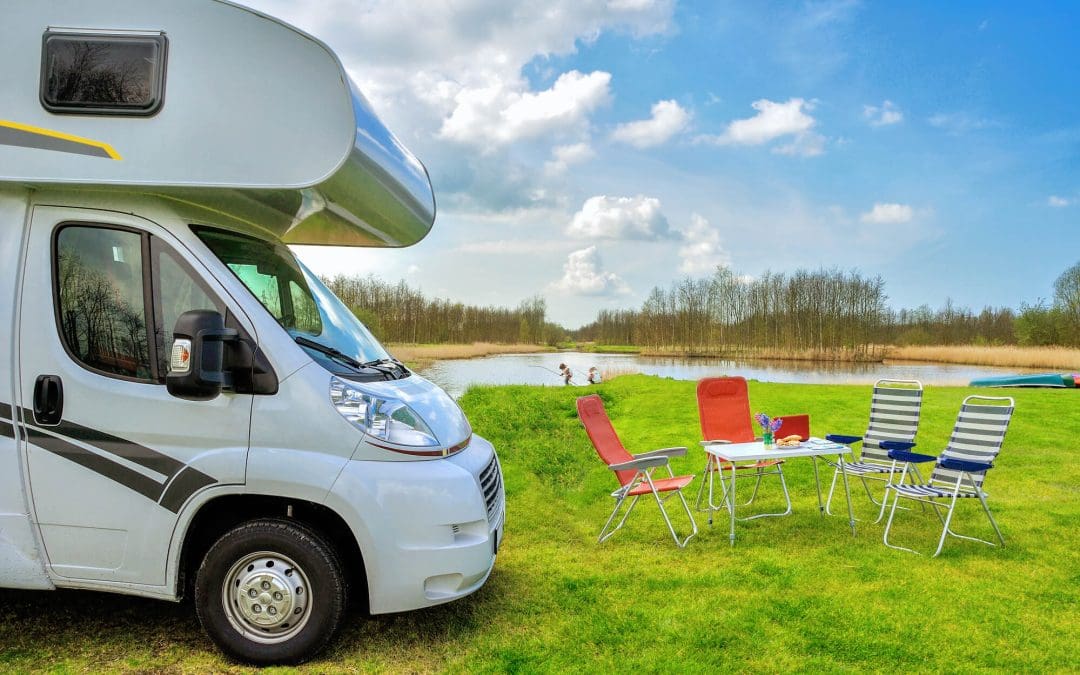
Now you can extend your slide-outs (if you have them), deploy the awning, and start setting up the inside. Roll out your rug, set up chairs, and take a deep breath—you did it.
Walkthrough and Final Checks
Before you kick back, take a quick walkaround. Check that your steps are secure, windows and vents are closed or open as needed, and there are no leaks or drips. Inside, make sure your fridge is cooling, your lights are working, and your water is flowing.
And most importantly, enjoy yourself. That’s what it’s all about.
FAQs on How to Set Up Your RV
Do I need special tools to set up my RV?
Not really. You’ll want a good water hose with a pressure regulator, a surge protector for your electric hookup, a sewer hose with fittings, leveling blocks, and a bubble level if your RV doesn’t have auto-leveling. A cordless drill can make stabilizer jacks a breeze.
Should I leave my black tank valve open?
Nope. Always keep it closed and only dump it when it’s around two-thirds full. This helps prevent what’s called the dreaded “poop pyramid” from forming in your tank.
How do I know if my RV is level?
Use a small bubble level on your floor or countertop. Some folks install levels on the exterior, too. If you have auto-leveling, it’ll do the checking and adjusting for you.
Can I set up my RV alone?
Yes, you can—but having someone help is easier, especially when backing in and leveling. After a few trips, you’ll build the confidence to do it solo if needed.
What if something doesn’t work when I hook up?
Stay calm and check your connections. Is the power pedestal breaker on? Is your water pressure regulator connected correctly? Double-check your hoses and plugs. Most issues come down to a simple fix.
USRV Inspector provides professional RV inspection services to RVers throughout the United States. Contact us to schedule an appointment.